Introduction

Who doesn’t want to look effortlessly cool typing on a keyboard no one else understands? I know I do.
Beyond the sheer style factor, I’ve discovered some real benefits of using a split keyboard. For me, the main advantages are:
Reduced hand motion: Moving my hand to reach the arrow keys or numbers always annoyed me. And don’t even get me started on the thumb and pinky gymnastics required to press Alt, Esc, or Ctrl. With a split keyboard, those motions are minimized.
Better ergonomics: A split layout isn’t just about finger comfort. It allows me to position the keyboard halves more naturally, which improves my overall desk posture and keeps me from sitting like a shrimp.
Increased typing speed: Less hand movement means less wasted time, which naturally leads to faster typing once you get used to the layout.
Switching to a split keyboard isn’t just a style choice—it’s an upgrade for your hands, posture, and productivity.
Ian’s Keyboard
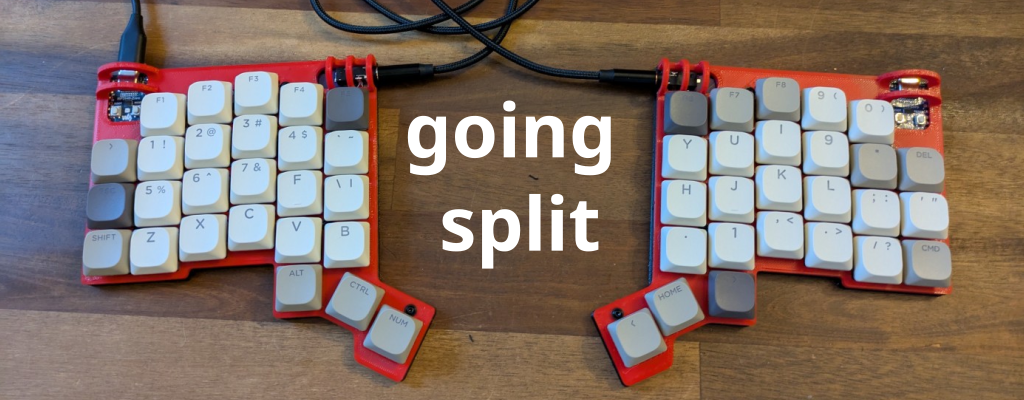
For my first build, I came across Ian Maclarty’s GitHub project, the IK Keyboard.
The concept is straightforward: build your own split keyboard using parts you can easily source from AliExpress.
The only challenging pieces are the PCBs and the 3D-printed housings.
Fortunately, a colleague had two spare PCBs for me, and I can print the housings myself with my 3D printer.
For everything else, you can simply follow the guidance in the project’s README.
PCB Redesign
In the original design, there are two separate Gerber files—one for the left PCB and one for the right.
The PCBs I received had been slightly modified so that the same PCB can be used for both sides.
This is a significant improvement because PCB manufacturers typically require a minimum batch of five units per Gerber file.
With the redesign, you only need to order one type, which keeps costs down.
For example, you can get five identical PCBs produced by services like pcbway.com for about 30 €.
Unfortunately I don’t have the modified versions of the Gerber files.
3D Modeling and Printing the Frame
The original STL files are optimized for compactness, which can make assembly and especially debugging more difficult.
To improve the workflow, I redesigned the housings so everything can be assembled after soldering.
You can find my modified STL files in my GitHub repository Ian Maclarty Mods
Assembling
The assembly process consists of two core tasks:
- Soldering all components onto the PCB
- Mounting the housing and keycaps
Soldering
To connect the two halves, I used PJ328 headphone sockets because I still had several on hand.
The housing differs slightly to accommodate these, but as long as you solder cleanly, it works well.
For the MCUs, I recommend covering nearby components with nail polish to help prevent short circuits during soldering.
For everything else, rely on the instructions in the original
README.
Put Everything Together
Once the soldering is complete, the rest is straightforward and enjoyable.
Just follow the assembly steps from the original README.
Software
The firmware for this keyboard is based on the QMK firmware.
Fortunately, Ian provides everything you need to get started.
Modifications
Keyboard layout preferences are highly personal.
I configured mine to work seamlessly with the US International – Alt Gr dead keys layout on my PC.
On Windows, you need to install this layout manually. A reliable implementation is provided by thomasfaingnaert. This layout preserves QWERTY while adding support for German characters: ä, ö, ü, and ß.
Flashing
To flash the firmware, simply follow the instructions in Ian’sREADME.
My personal keymaps are available here: keymaps matsch